Home > eSalesTrack Help Menu > User > Activity > Task > Creating a Task
Calendar
Creating a Task
You can create tasks from more than one place in the eSalesTrack application.
You can create a new task:
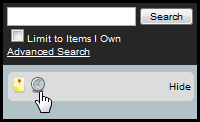
1. By clicking on the clock
 below the search bar or in the top right of the Module form view below the search bar or in the top right of the Module form view

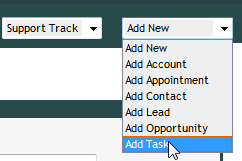
2. Clicking on the Add New drop-down feature in the upper right section of the screen and clicking on Add Task

3. Clicking on the new task link in the Activities tab Details page to add a task to that specific account.

4. Clicking on the Create New Task
link in the Calendar home/landing page
.png)
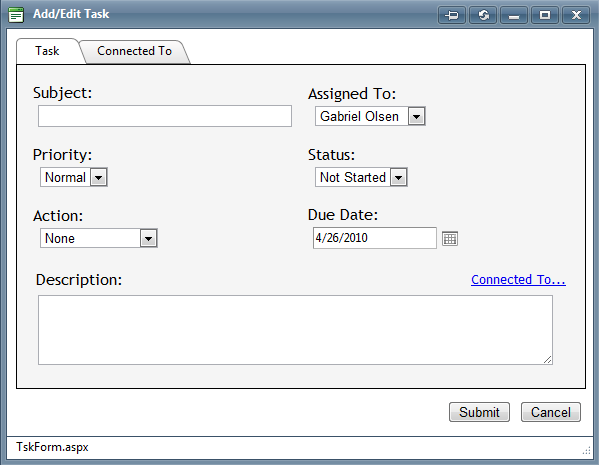
Clicking on any of these takes you to the Add Appointment/Task page where you can add the task information.
Adding Task Information
Only the Subject field is a mandatory field while adding a task.

Subject: Add a name for the task.
Assigned To: Select which team member to assign to the task
Priority: Select the priority of the task
Status: Select the status of the task
Action: Select the action corresponding to the task
Due Date: Type in the date or select the appointment/ task date by clicking on the calendar icon () to the right.
Connected To: Select the account/contact/opportunity to assign the task to from the drop-down list.
Description: Type any additional information you want visible to the account
Click Submit to save the task.
See also
| 