|
Home > eSalesTrack Help Menu > User > Email and Marketing > Automation > Add Notification
Automation
Add Notification
Notifications can create triggers in your account to update information or alert you of certain
events.
To Create a notification:
1.
Click on the wrench
 . .
2. Click on Automation
 . .
3. Click on Add Notification
 . .
4.
Give the notification a name.
5. Select an event to
trigger the notification.
By Control: Here you can select
a specific field value to trigger the notification.
By Date: Here you can pick a date field and trigger the
notification for a specific amount of days before or after this field.
By Event: Here you can trigger a notification when a record
is created, edited, or deleted.

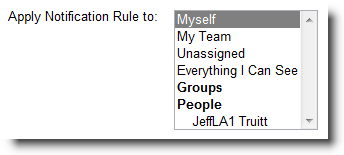
6. Choose which user's data you would like to apply this
notification rule to.

7. You then need to select which type of
notification you would like to create.
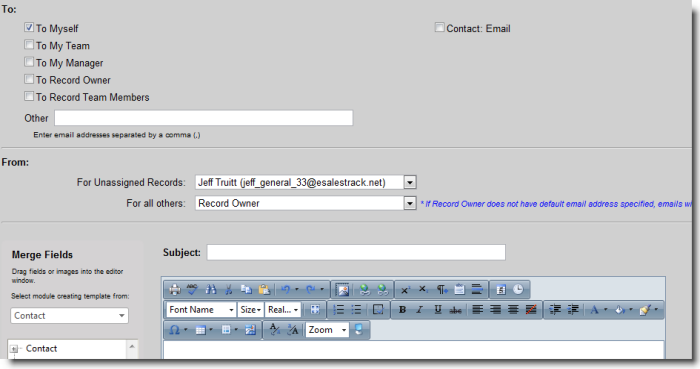
Send Email:
This will send an email when the notification criteria is met. You can add
information from the record into the email. First select the email address
you would like the email to go to, then build the email. The email creator works like
the email templates creator.

Start Campaign: This will start a record on a
campaign when the notification criteria is met. Select which campaign you
want to start, then pick the email field to use when starting campaign.

Stop
Campaign: This will stop a particular record from a campaign if that record is
currently on a campaign. It works well to create a separate notification
with a stop campaign function if you create a notification to start one.
Here you just need to select email field that the campaign was started from.

Create
Task: You can have the notification create a task when the criteria is
met.

Change Record Owner: You can have the record
owner automatically update when certain criteria is met.

8. Click  when
finished. when
finished.
See also
| 