Home > eSalesTrack Help Menu > User > Getting Started > Home Page > Creating Dashboards > Creating Widgets
Creating Dashboards
Creating Widgets
Widgets are visual displays of your data on your home page. You can create all different kinds of widgets based on what information you would like to see.
To create a widget:
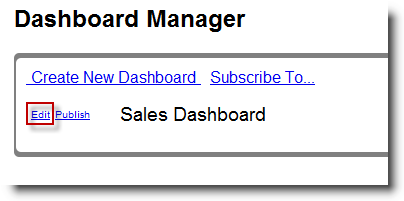
1. Edit the dashboard that you would like to add a widget to.
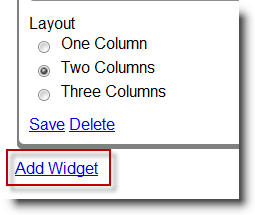
2. Select Add Widget.
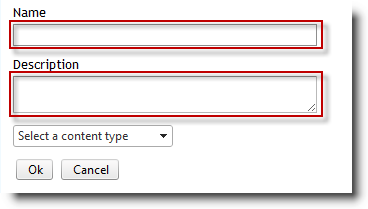
4. Give the widget a name and description.
5. Select the type of widget you would like to create.
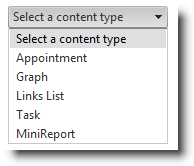
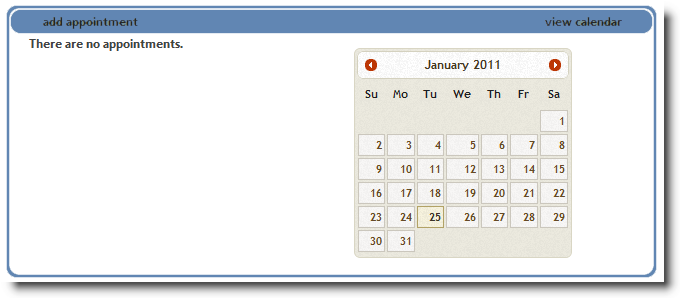
Appointment: will show your upcoming appointments on your dashboard. In the drop down box that appears, select the number of appointments to display. If you want the widget to include a picture of the calendar, click on the box next to “Display Calendar?”
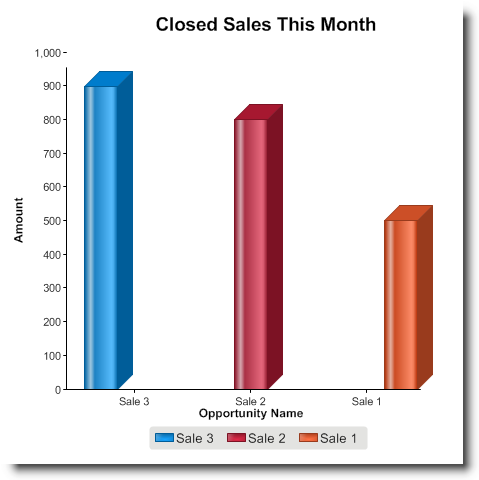
Graph: will allow you to make a graph based on a report you have already made in the report module.
Links List: allows you to put links to other websites on your dashboard. In the Link Name box enter the name of the website how you want it to appear on the dashboard. In the Link URL box enter the web address beginning with “http://”.

Task: allows you to display your upcoming tasks on your dashboard by selecting how many tasks you want to see at a time.

MiniReport: allows you to put a quick snapshot of any report you have previously made onto your dashboard by selecting the report, the columns from the report that you want to appear, and the number of rows from that report that you want to show up on the dashboard. (By clicking on View at the bottom of the MiniReport, you can see the entire report)

6. Save the widget and save the dashboard.
See also
| 